
Ensure your mappings are configured before attempting to create your own user
Step-by-Step
Step 1 – Add user
In the HoundID landing click “Add User”.
Step 2 – Fill in the Details
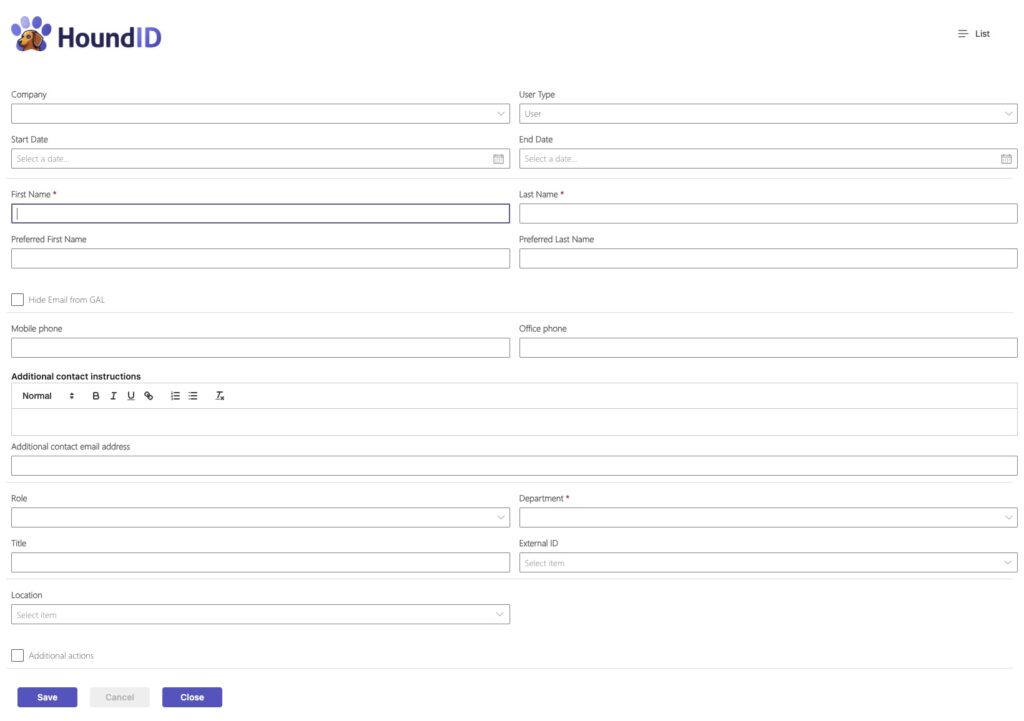
Fill in the details for the user
Mandatory Fields
- First Name
- Last Name
- Department
User type
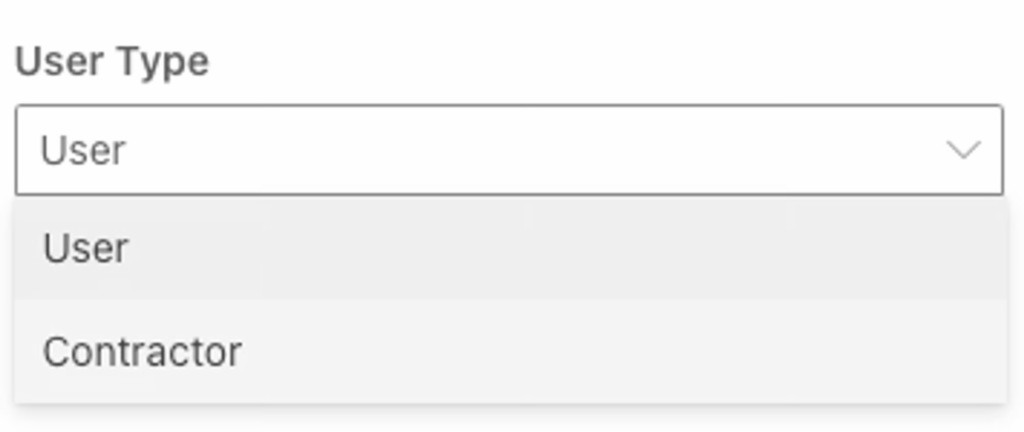
You can select user or contractor. If you select contractor the Start and End Date will become mandatory.
Hybrid User

If you select Hybrid User other fields will appear for Active Directory and this user will now leverage the Hybrid components.
Additional Actions

Additional actions can be selected for this user that are outside of the mappings.
Step 3 – Save

Once you have completed filling out the new user form.
Step 4 – Monitor Progress
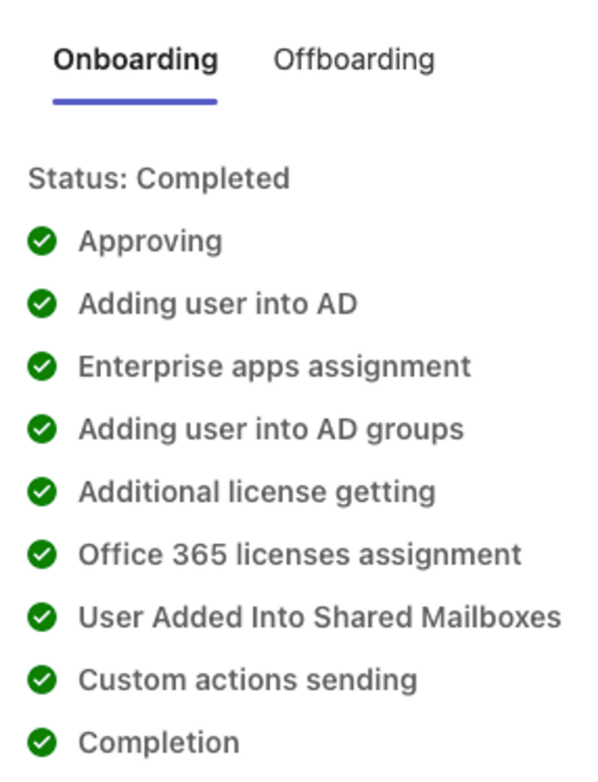
As the user is created you will be able to monitor the progress in the user screen.